How to Read Knitting Charts #2: Colourwork
Like them or loath them, charts can be a knitter’s best friend, and for knitting colourwork such as intarsia or stranded knitting/fairisle, using charts are essential. It can feel daunting when presented with a knitting chart for the first time, but as with many skills in life, it’s easy when you know how.
Reading charts is such a useful skill for knitters to have. A chart is used to visually represent your knitting as if you were looking at it from the front. Each square represents a stitch (or instruction), and different stitches are indicated with symbols which are explained in a key (sometimes called a legend).
I have written previously about reading charts here, but today I am focussing on colourwork charts.
Working from charts for colour work knitting
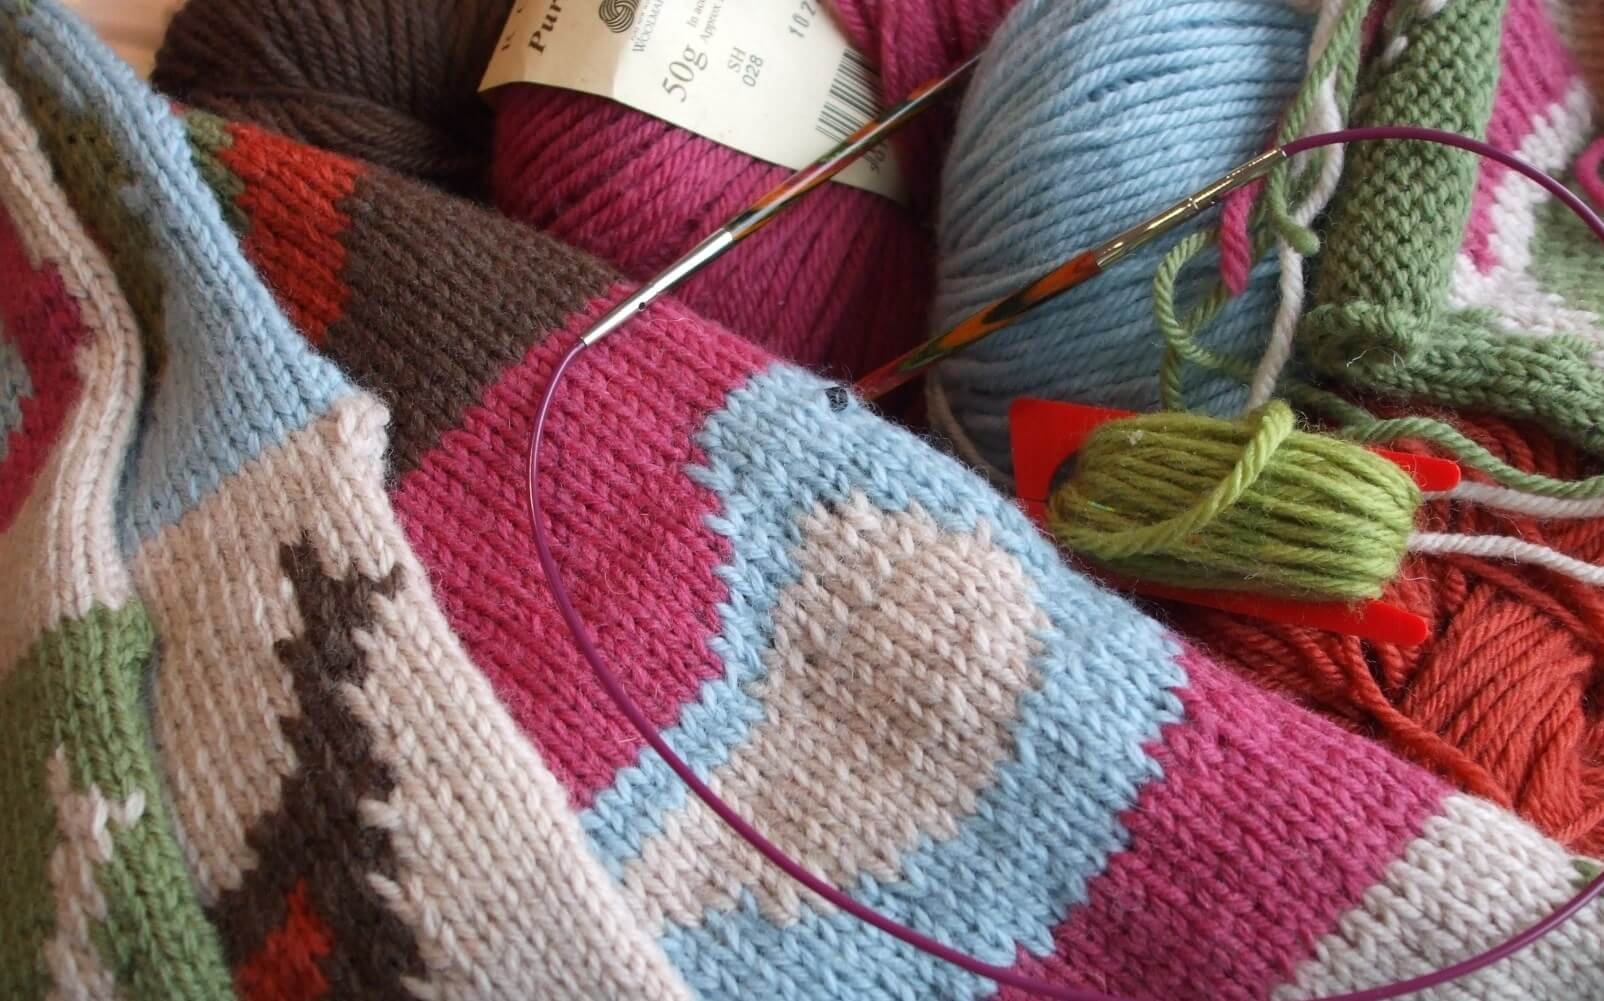
Colourwork patterns, such as intarsia or fairisle are usually worked from a chart, and very often in plain stocking (stockinette) stitch. Each square or box on the graph paper represents a stitch. When knitting flat in rows, charts are read from bottom to top and from right to left on a right side (usually knit) row and left to right on a wrong side (purl) row. If you are new to the technique it is a good idea to mark your chart to show which way you need to read each row. When working in the round however, you are always working from the right side, so all rounds are read from right to left.
You will find that many charts are now printed in colour, while some are printed all in black and white using different symbols to denote each colour. Both use a key to help you understand the pattern and describe which colours are to be placed where. The background colour is left blank.

Row numbers and colour keys
Charts usually have numbers running up the sides to help you keep track of where you are. You can also use Post-It notes to mark your place and then move them up row by row as you progress.
It is often a good idea to photocopy the chart you are working from and enlarge it so that it is easier to read, but bear in mind if the chart is in colour you need to copy it in colour as you may not be able to differentiate the colours very well if copied in black and white.
If the key uses symbols rather than colour, you can make a colour key by colouring in with pencils, or by attaching a strand of yarn next to each symbol – this saves a lot of time and effort!!
Other useful colourwork tips
Read the chart carefully before starting your project so that you can plan where new colours will be joined in
Read a row ahead so that you can carry yarns to the correct position
If it helps, colour in different areas if the chart
Join in new colours the stitch before you need to use them to prevent a hole forming
Use yarn bobbins for intarsia or risk a rat’s nest of yarn developing the back of our work!
Keep yarn bobbins close to the back of the work to prevent tangling
Very small areas of colour can be swiss darned afterwards - this will help to maintain a professional finish
Making your own chart
If you’re feeling adventurous, it’s a relatively easy to create your own colourwork design, and this can be a lovely way to personalise your project. A key to success is to understand that knitting stitches are not square but are actually rectangular.
If you use squared graph paper, your charted image would need be elongated as the actual stitches are shorter than they are wide. Using knitter’s graph paper with appropriately proportioned ‘squares’ is essential to take the guesswork out, and make it easy to directly transfer a simple drawing into a chart ready for knitting. (By the way, you can download an A4 sheet of knitter’s graph paper from my Resource library here).

Designing a motif
To make your own chart:
Decide how big you want the design in terms of number of stitches and rows
Mark a frame around an area of graph paper to represent this number of stitches and rows.
Draw your design in pencil, filling the space you have framed
Carefully go over the outlines, shading full ‘squares’.
Fill in your chart either with colour pens/pencils or symbols
Don’t forget to make a key.
I hope this post will give you more confidence for reading colourwork charts. If you’d like the heads-up when the next post is out, then sign up to my mailing list below.